
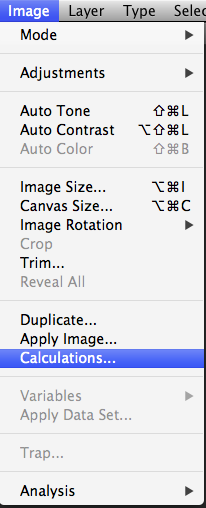
PHOTOSHOP: TUTORIAL: Contrast Masking and Calculations Function
As we have discussed in the past, the channels panel is composed of very use information about that one’s image that can be utilized for some very powerful adjustments and alterations.
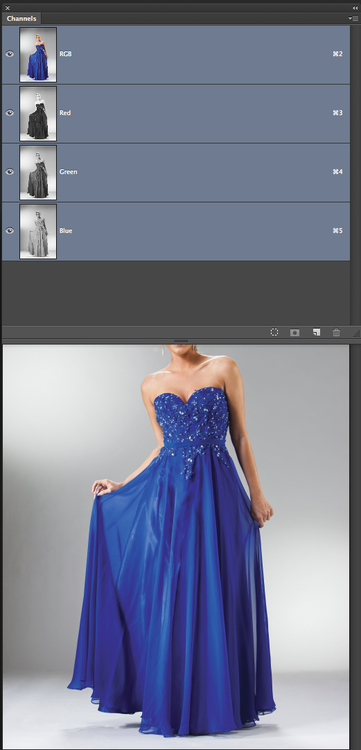


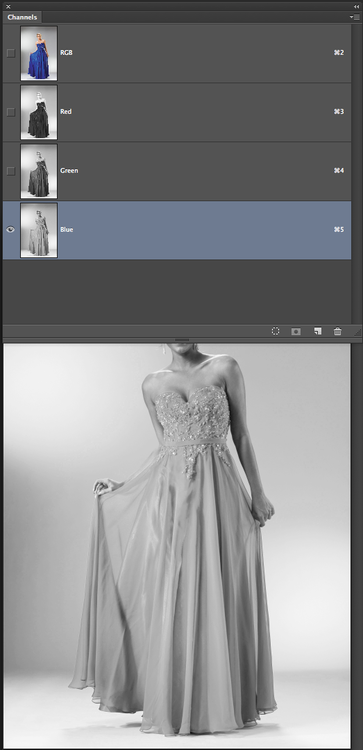
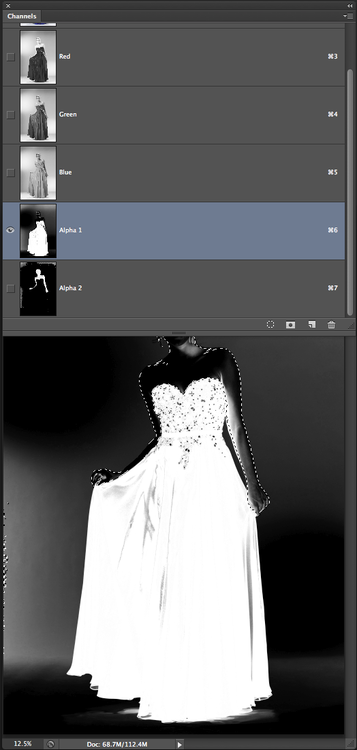
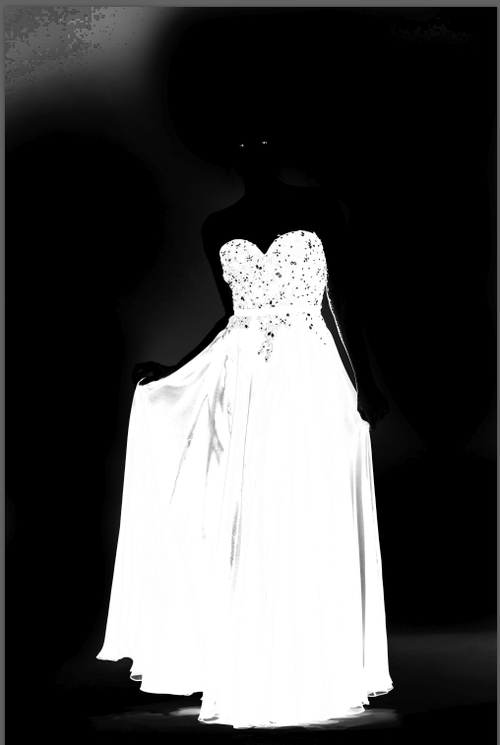
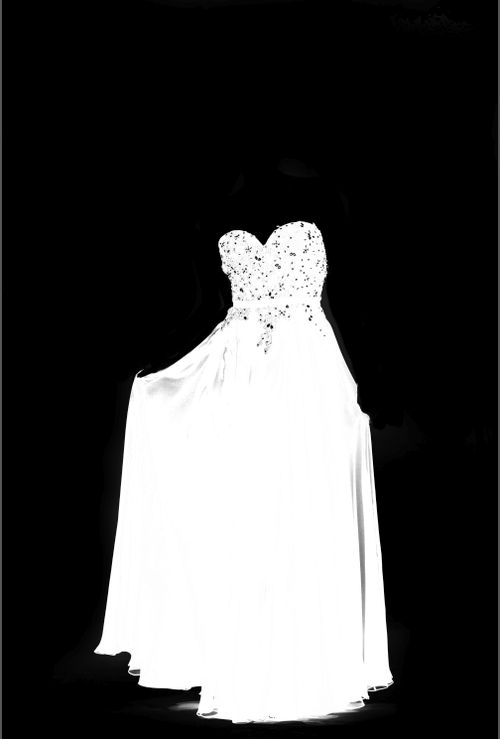
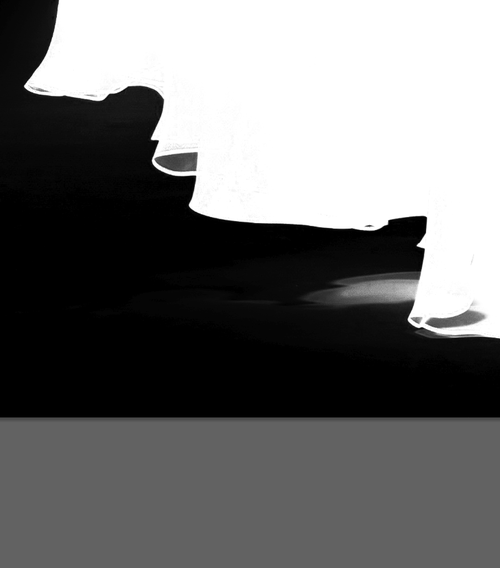
You will notice that the Red Channel provides the most contrast between the background and the dress and the majority of the skin tones. The only area is problematic is the shadow area above her left elbow. The blue Channel is a better match for isolating that contrast difference.
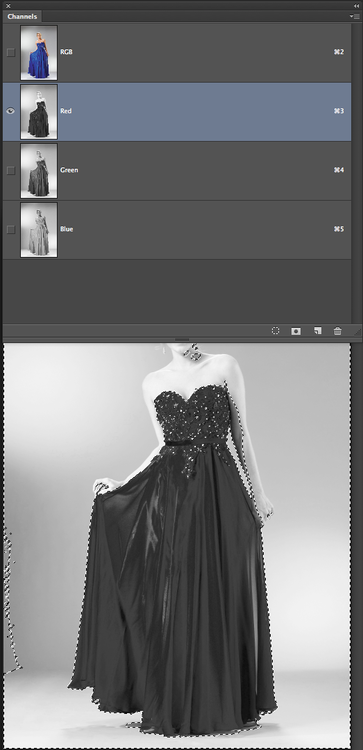
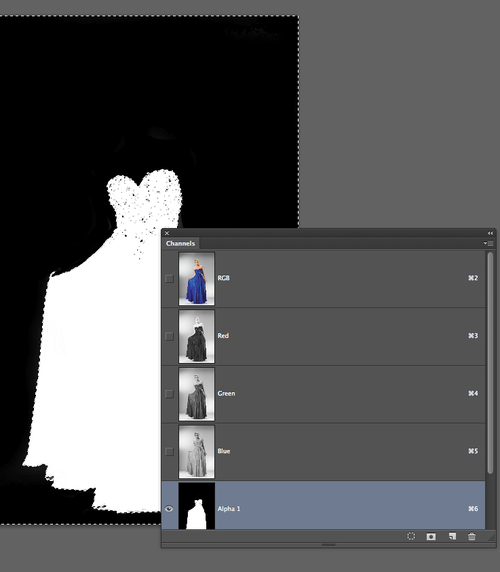
What you should first do is create an alpha channel that is derived from the Red Channel, hold down the command key and click the image icon on the Red Channel. You will now have marching ants active on the Red Channel. Click the “New Channel” icon next to the trash can icon on the Channels Panel. This will create a channel called Alpha 1. You may rename it, but I will keep it as Alpha 1 for this demonstration.
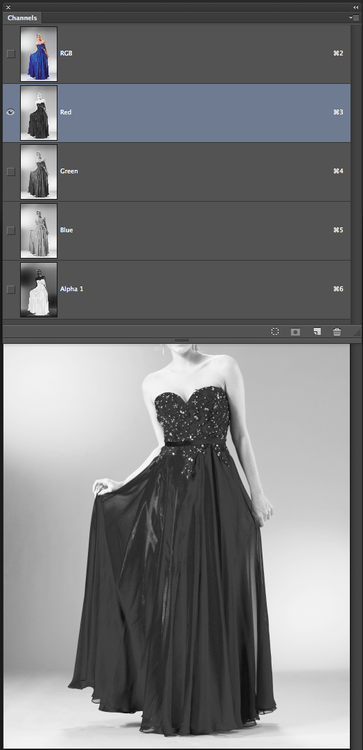
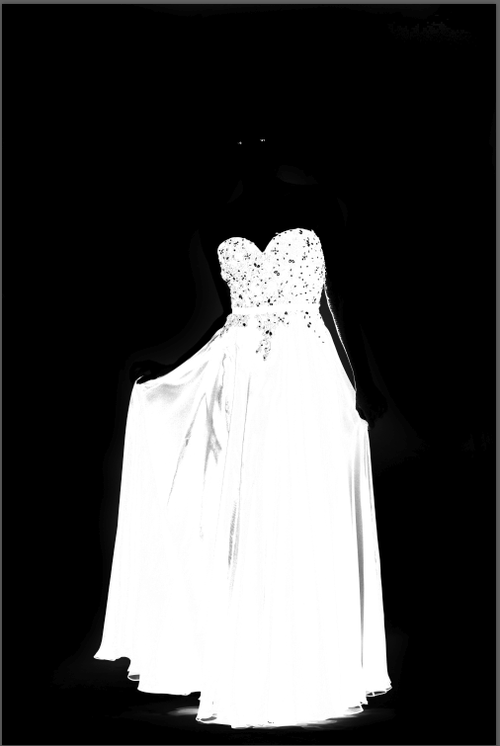
Click on Alpha 1 and note that it appears as the inverse of the Red Channel. Our goal is the make the dress solid white, and everything else solid black.

You can increase the contrast of the channel by using the adjustment levels.

Pull both the black point and white point toward the center. Note that the contrast under the arm is too strong and starts to blend in with the dress.

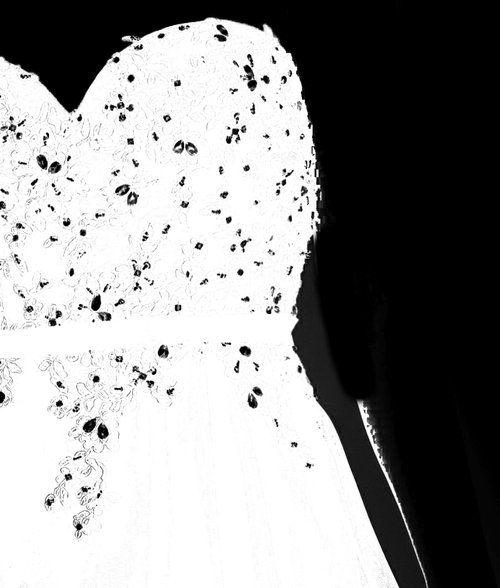
We will take the Red Channel and Divide the Blue Channel from it, and end up with a new channel that is a rather nice isolation of the skin tones.
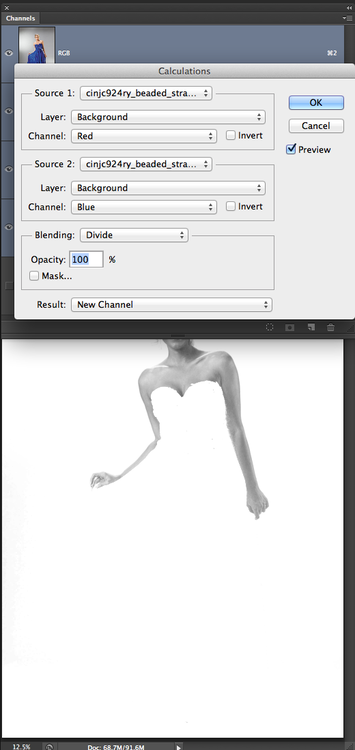
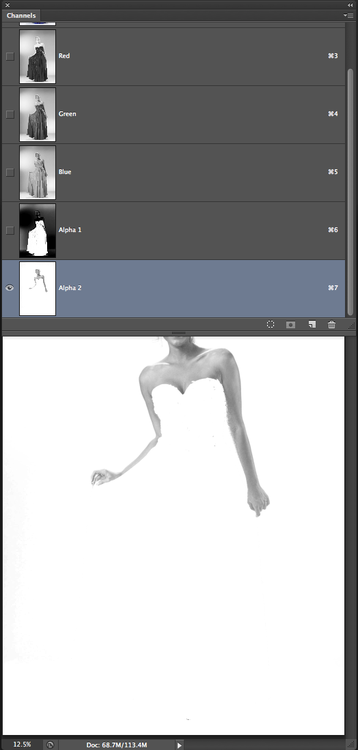
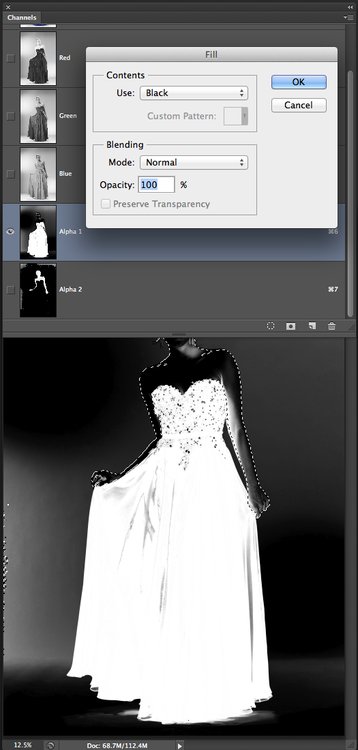
That new Channel, “Alpha 2” should be inverted, and the the contrast increased so that it can be used to create a selection, which will then be filled with black. This act will remove the skin tone from Alpha 1 resulting in a much closer isolation of the dress.
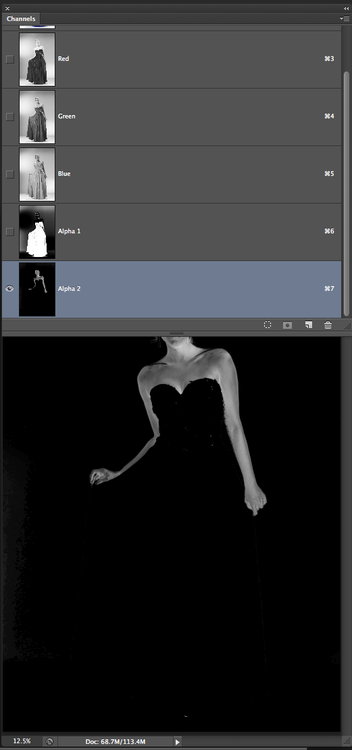

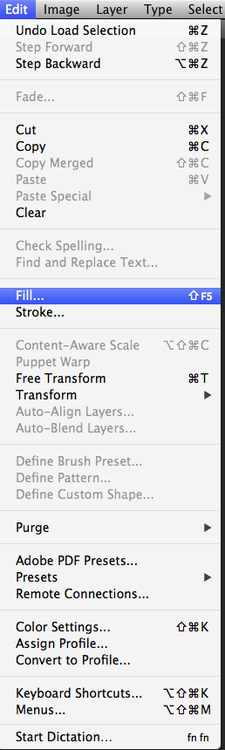

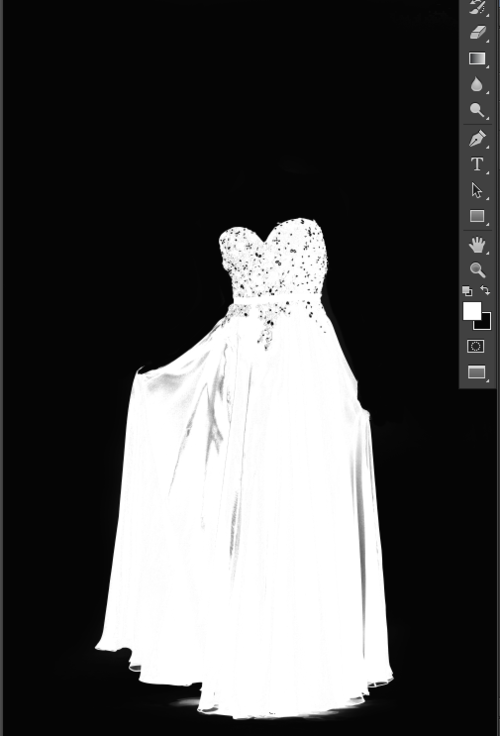
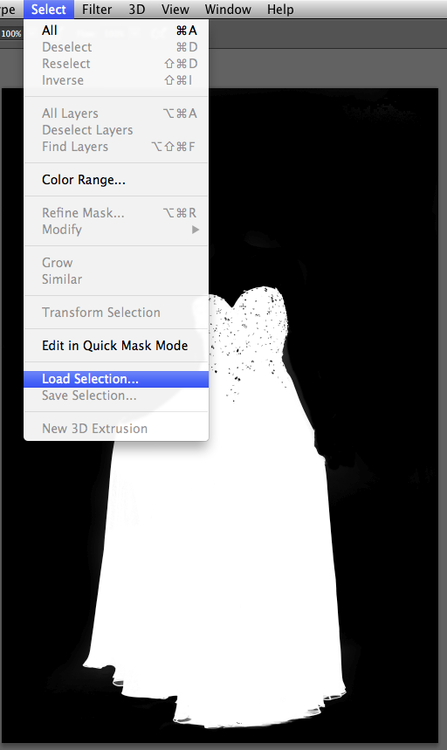
We will now need to clean up the selection by using a brush set to Overlay with black as the color. All tone that is not intensely white will become black. Then switch your brush blending mode to normal and brush away some of the remaining white pixels that appear outside the dress silo being careful not to ruin the edge. Switch your color to White, and blend mode to Overlay again, and proceed to clean up the inside of the dress.


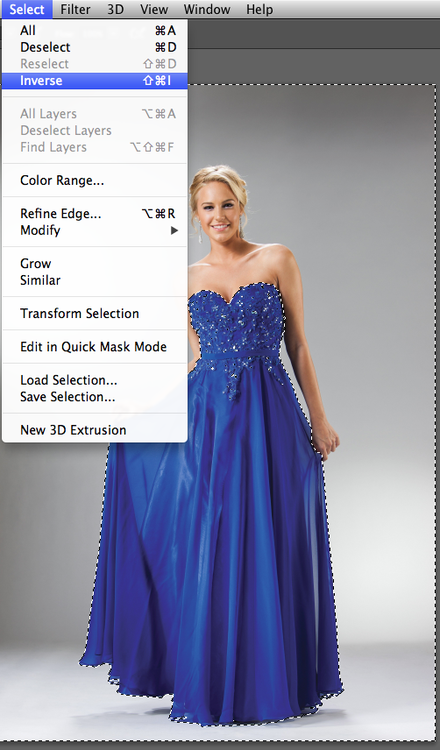
Once complete let us load the selection of Alpha 1.

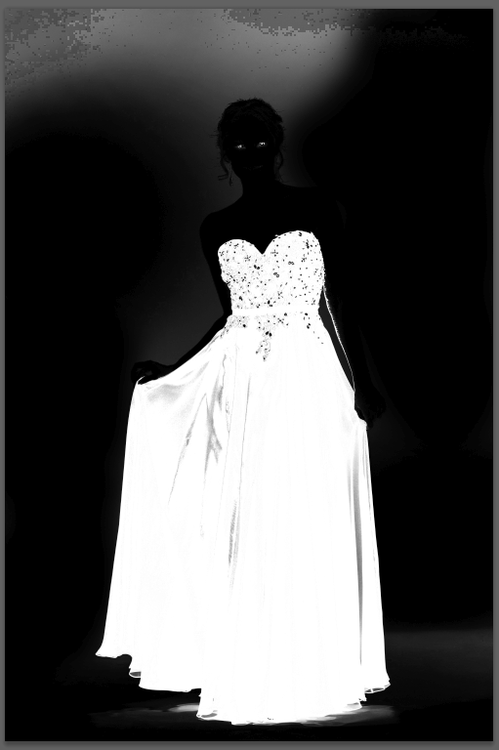
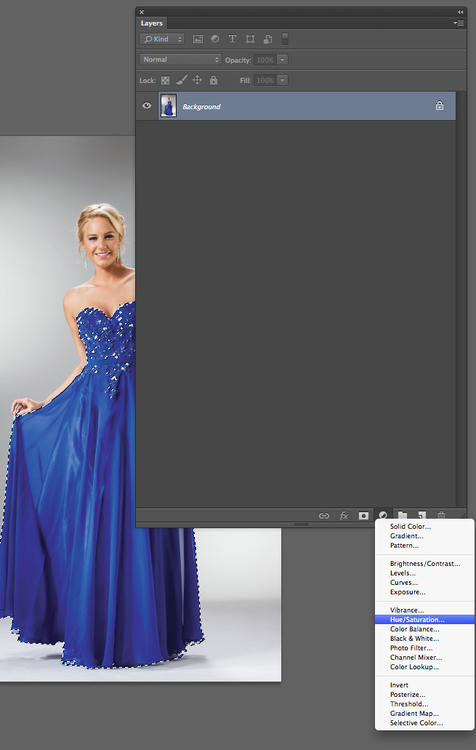
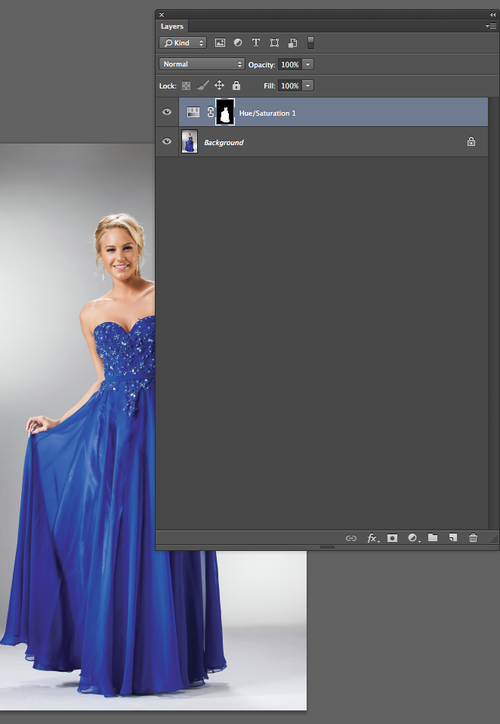
Then Click on Channel “RGB” so that we can see our image in standard color mode. Click on your layers panel and choose the adjustment layer, Hue / Saturation. Slide the hue to the left and that saturation a bit to the right.


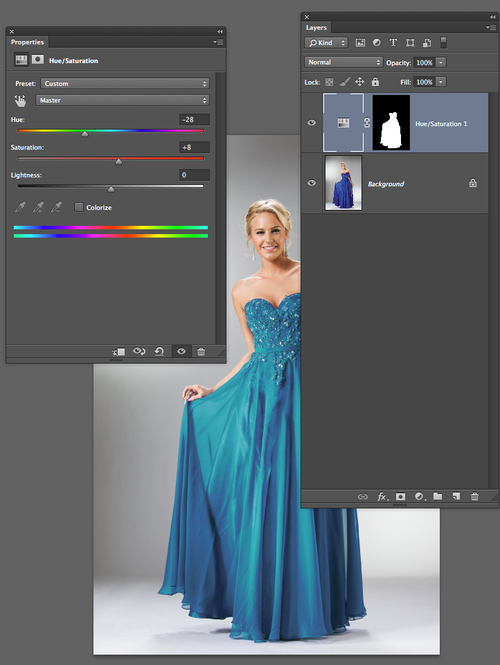
You have now changed the color of the dress.